Kitchen Remodeling Resale Value
Think about how much money you’ll save by remodeling your kitchen. If you intend to stay in your home for a good number of years, investing in a kitchen that fulfils your “dream kitchen” aspirations could be worthwhile due to the fact that it will provide your family with a place that is both functional and appealing for many years to come.
If, on the other hand, you are an empty nester who expects to move into a smaller home within the next five years, then perhaps the surface-level kitchen remodel is the most realistic option for you.
Because the kitchen is such a personal room, the owner who comes after you may have very different ideas about what a “dream kitchen” should look like than you do. Renovating the kitchen can typically return a significant percentage of the expenditure to the homeowner in the form of increased home equity, but not always all of it.
It Will Make The Functionality Much Better
When you decide to update your kitchen, you can either add to it or take away from it depending on your preferences. Despite this, the most important thing for you to work on is making your kitchen seem better. Therefore, you have to determine how many objects will be added or taken away from the list. Renovating your kitchen makes it much simpler and more enjoyable to prepare meals. In addition to this, it will help the cook mentally make delicious recipes.
The Costs Associated With Energy Consumption Will Go Down.
When renovating a kitchen, it is necessary to either replace any existing electronic appliances or install new electronic circuits. As a result, you should upgrade to more energy-efficient electronic gadgets so that you may cut down on your overall energy expenses. If you need to reduce your overall energy use, one option to explore is switching to LED lighting, which has a very low power requirement. By upgrading the electric appliances in your home, you can reduce the amount of energy it takes to run them.
The overall look will be current and fresh.
Is the current design of the interior of your kitchen resembling something more traditional or antique? A contemporary look can be achieved in the design of your kitchen by working with an experienced professional kitchen model contractor. There are a lot of inventive and knowledgeable contractors. The modern look you want can be provided to you in a stress-free manner with One Stop Remodeling.
Improvements Made to Both Comfort and Safety
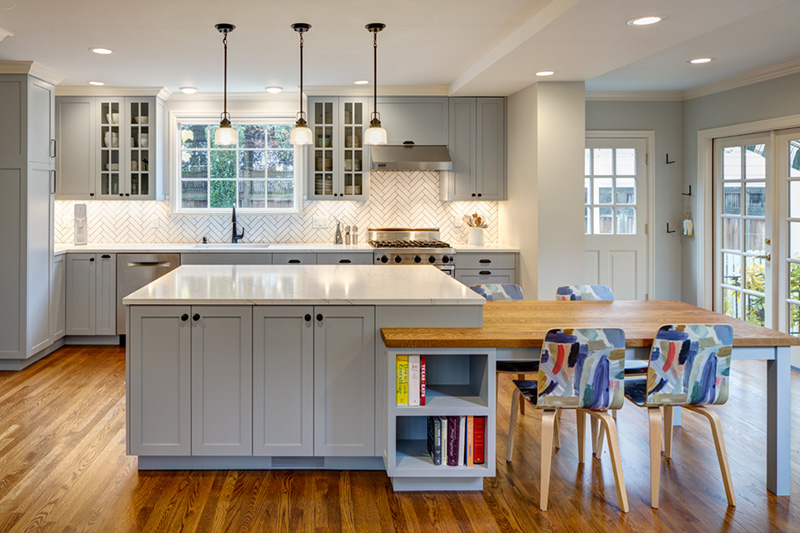
Simply installing a kitchen isle will make your kitchen far more functional and user-friendly. Therefore, in order to make plans for your kitchen remodel, you need contact with professionals. Ask them for their advice on how to make the working atmosphere in the kitchen more pleasant and secure for those who are there to do their jobs.
Your Home’s Value Will Go Up As A Result Of This Improvement.
Remodeling your kitchen can help you achieve a good return on your investment and increase your earnings. When you determine to sell your house, the money you spent upgrading your kitchen will, unsurprisingly, be returned to you in full. In addition, the kitchen has been updated, so it is not vintage, which is something that will appeal to prospective purchasers.
The Benefits Of Kitchens Consisting Of Only One Wall
One-wall kitchens are the epitome of chic and may be found in homes all around the world. In the United States, their notoriety has been steadily on the rise over the course of the past few years. The Empire State Building, Trump Tower in Chicago, and the Ritz-Carlton in Washington, DC, to name a few, all feature them, and they are becoming increasingly popular. In China, where one-wall kitchens are becoming increasingly popular, they are frequently found in the country’s most opulent hotels.